Instructions for wireless charger for iPhone 7
Thanks for buying the Strange Parts iPhone 7 Wireless Charging Kit. I hope you enjoy it! These are some installation instructions and tips to try and maximize the success you have installing it. That being said, this is still an alpha version of the kit. Yeke is still actively working on improving the reliability of the flex connector. So be aware this may require a fair amount of patience and debugging on your part. I’ll try and help where I can, but I have limited time to provide technical support.
Scotty’s Installation Video
Yeke’s Installation Video
Required tools
- iPhone Standoff Screwdriver
- P2 Pentalobe Screwdriver iPhone
- Phillips #000 Screwdriver
- Tri-point Y000 Screwdriver
- Suction cup screen cracker
- Plastic spudger
- Tweezers
- SIM Card Eject Tool
- alcohol and cleanroom wipes (or cotton swabs)
Installation steps
- Disassemble your phone and reassemble it in the red Strange Parts rear case. This is most of the work, but is relatively straightforward. For this process, you can reference the iFixit guide and I will release a video about assembling an iPhone 7 shortly.
- Test that the phone works correctly and charges once you’ve reassembled the phone, WITHOUT installing the wireless charging PCB first. This ensures there aren’t any other problems introduced by swapping the rear case.
- Fold the wireless charging PCB. You need to add three folds to the wireless charging cable so it looks like this:
- Clean the contacts end of the wireless charging PCB, where it will wrap around the bottom flex cable connector. This ensures there is no oxidation that will interfere with the electrical signals.
- Align the end of the wireless charging PCB with the connector from the bottom flex cable. You should fully fit the ring of the flex PCB around the connector, and then hold it with a pair of tweezers, like this:
- Carefully insert the connector into the jack on the logic board, being careful to keep the flex cable mated with the connector. Make sure you aren’t pinching the wireless PCB cable into the jack, which will damage it.
- Align the wireless charger in the case. It should be shifted up slightly from the natural placement to align with the hole in the back better.
- Put the battery in the phone, and thread the connector under the wireless charging PCB like this:
- Plug in the battery.
- Place 3 pieces of the supplied black foam on the back of the bottom flex cable connector. This helps provide sufficient on the connector to ensure a solid connection with the wireless charging PCB cable. The foam should be placed like this:
- Attach the screen
- Attach the metal bracket that covers the bottom flex connector, battery connector, and screen connectors. Make sure the screws are snug (but don’t overtighten them).
- Test to see if the wireless charging works. It’s best to use an ampmeter connected to your wireless charging for initial debugging. It should draw at least 1A, but will draw 2A if your wireless charger is capable of fast charging.
- If everything works, finish assembling the phone according to the iFixit guide.
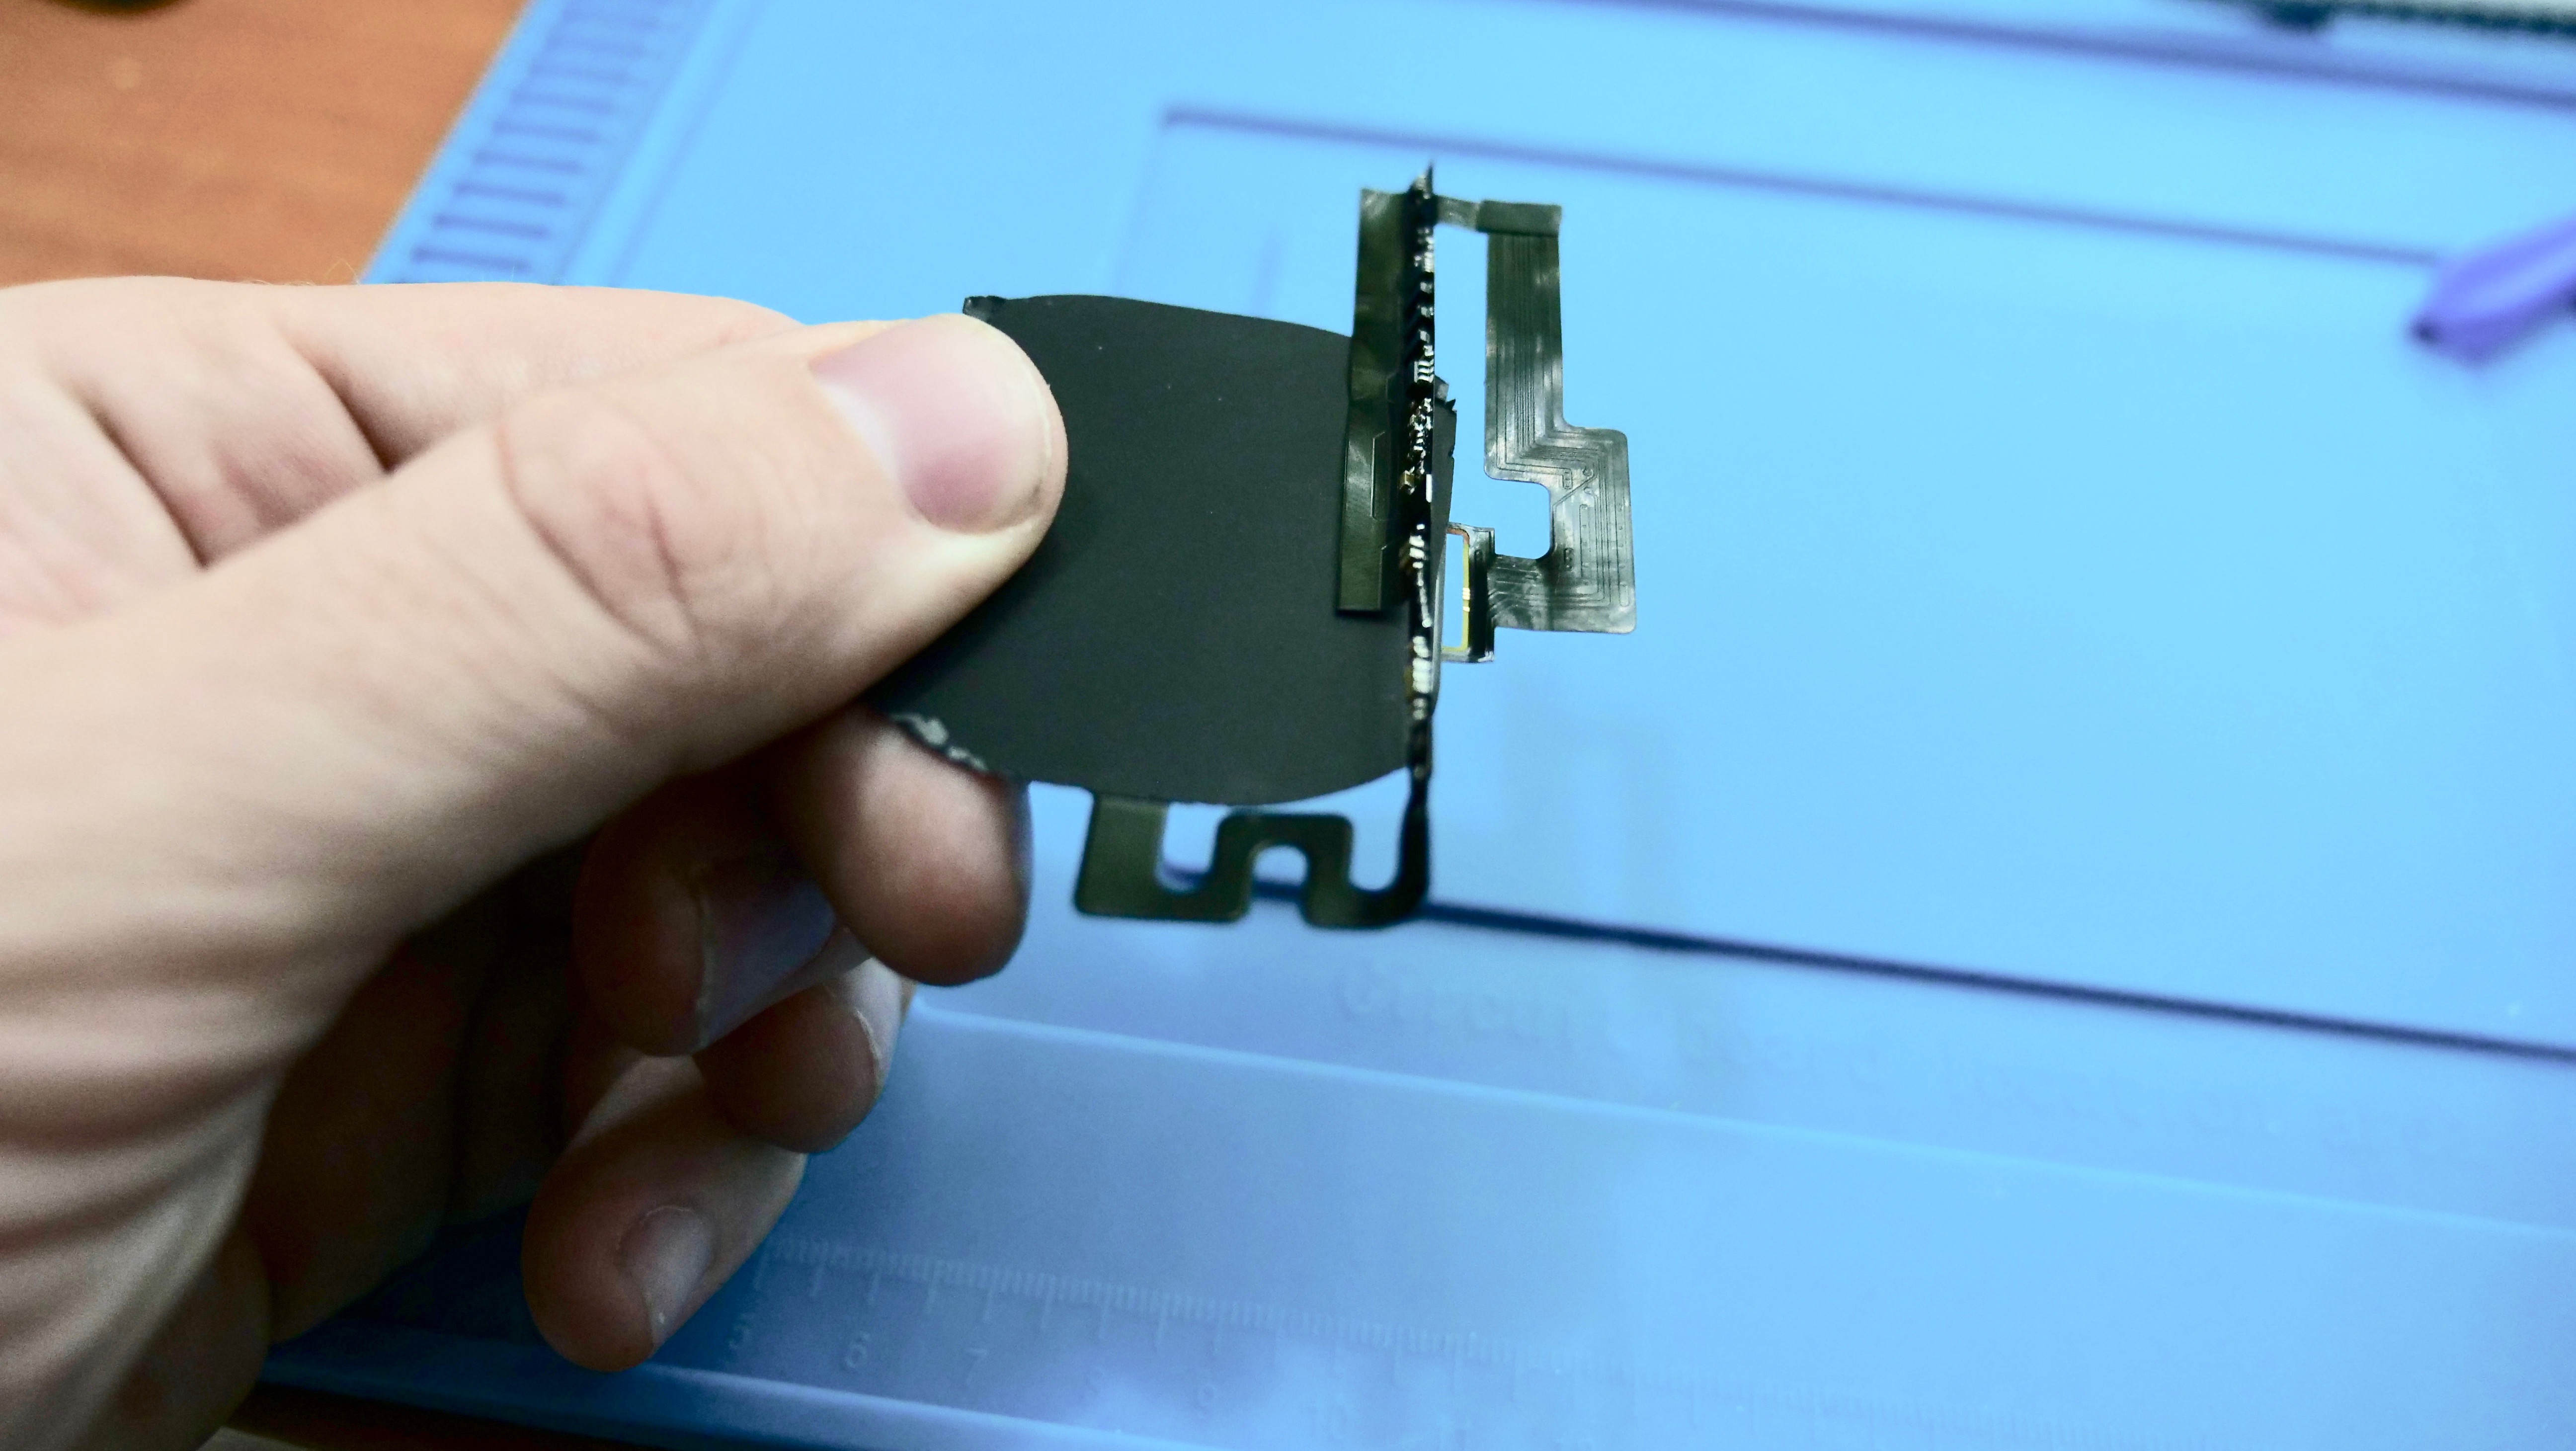
This is how to fold the wireless charging PCB. You can fold it with your fingers.

This is how to hold the wireless charging PCB cable to the connector before inserting it.
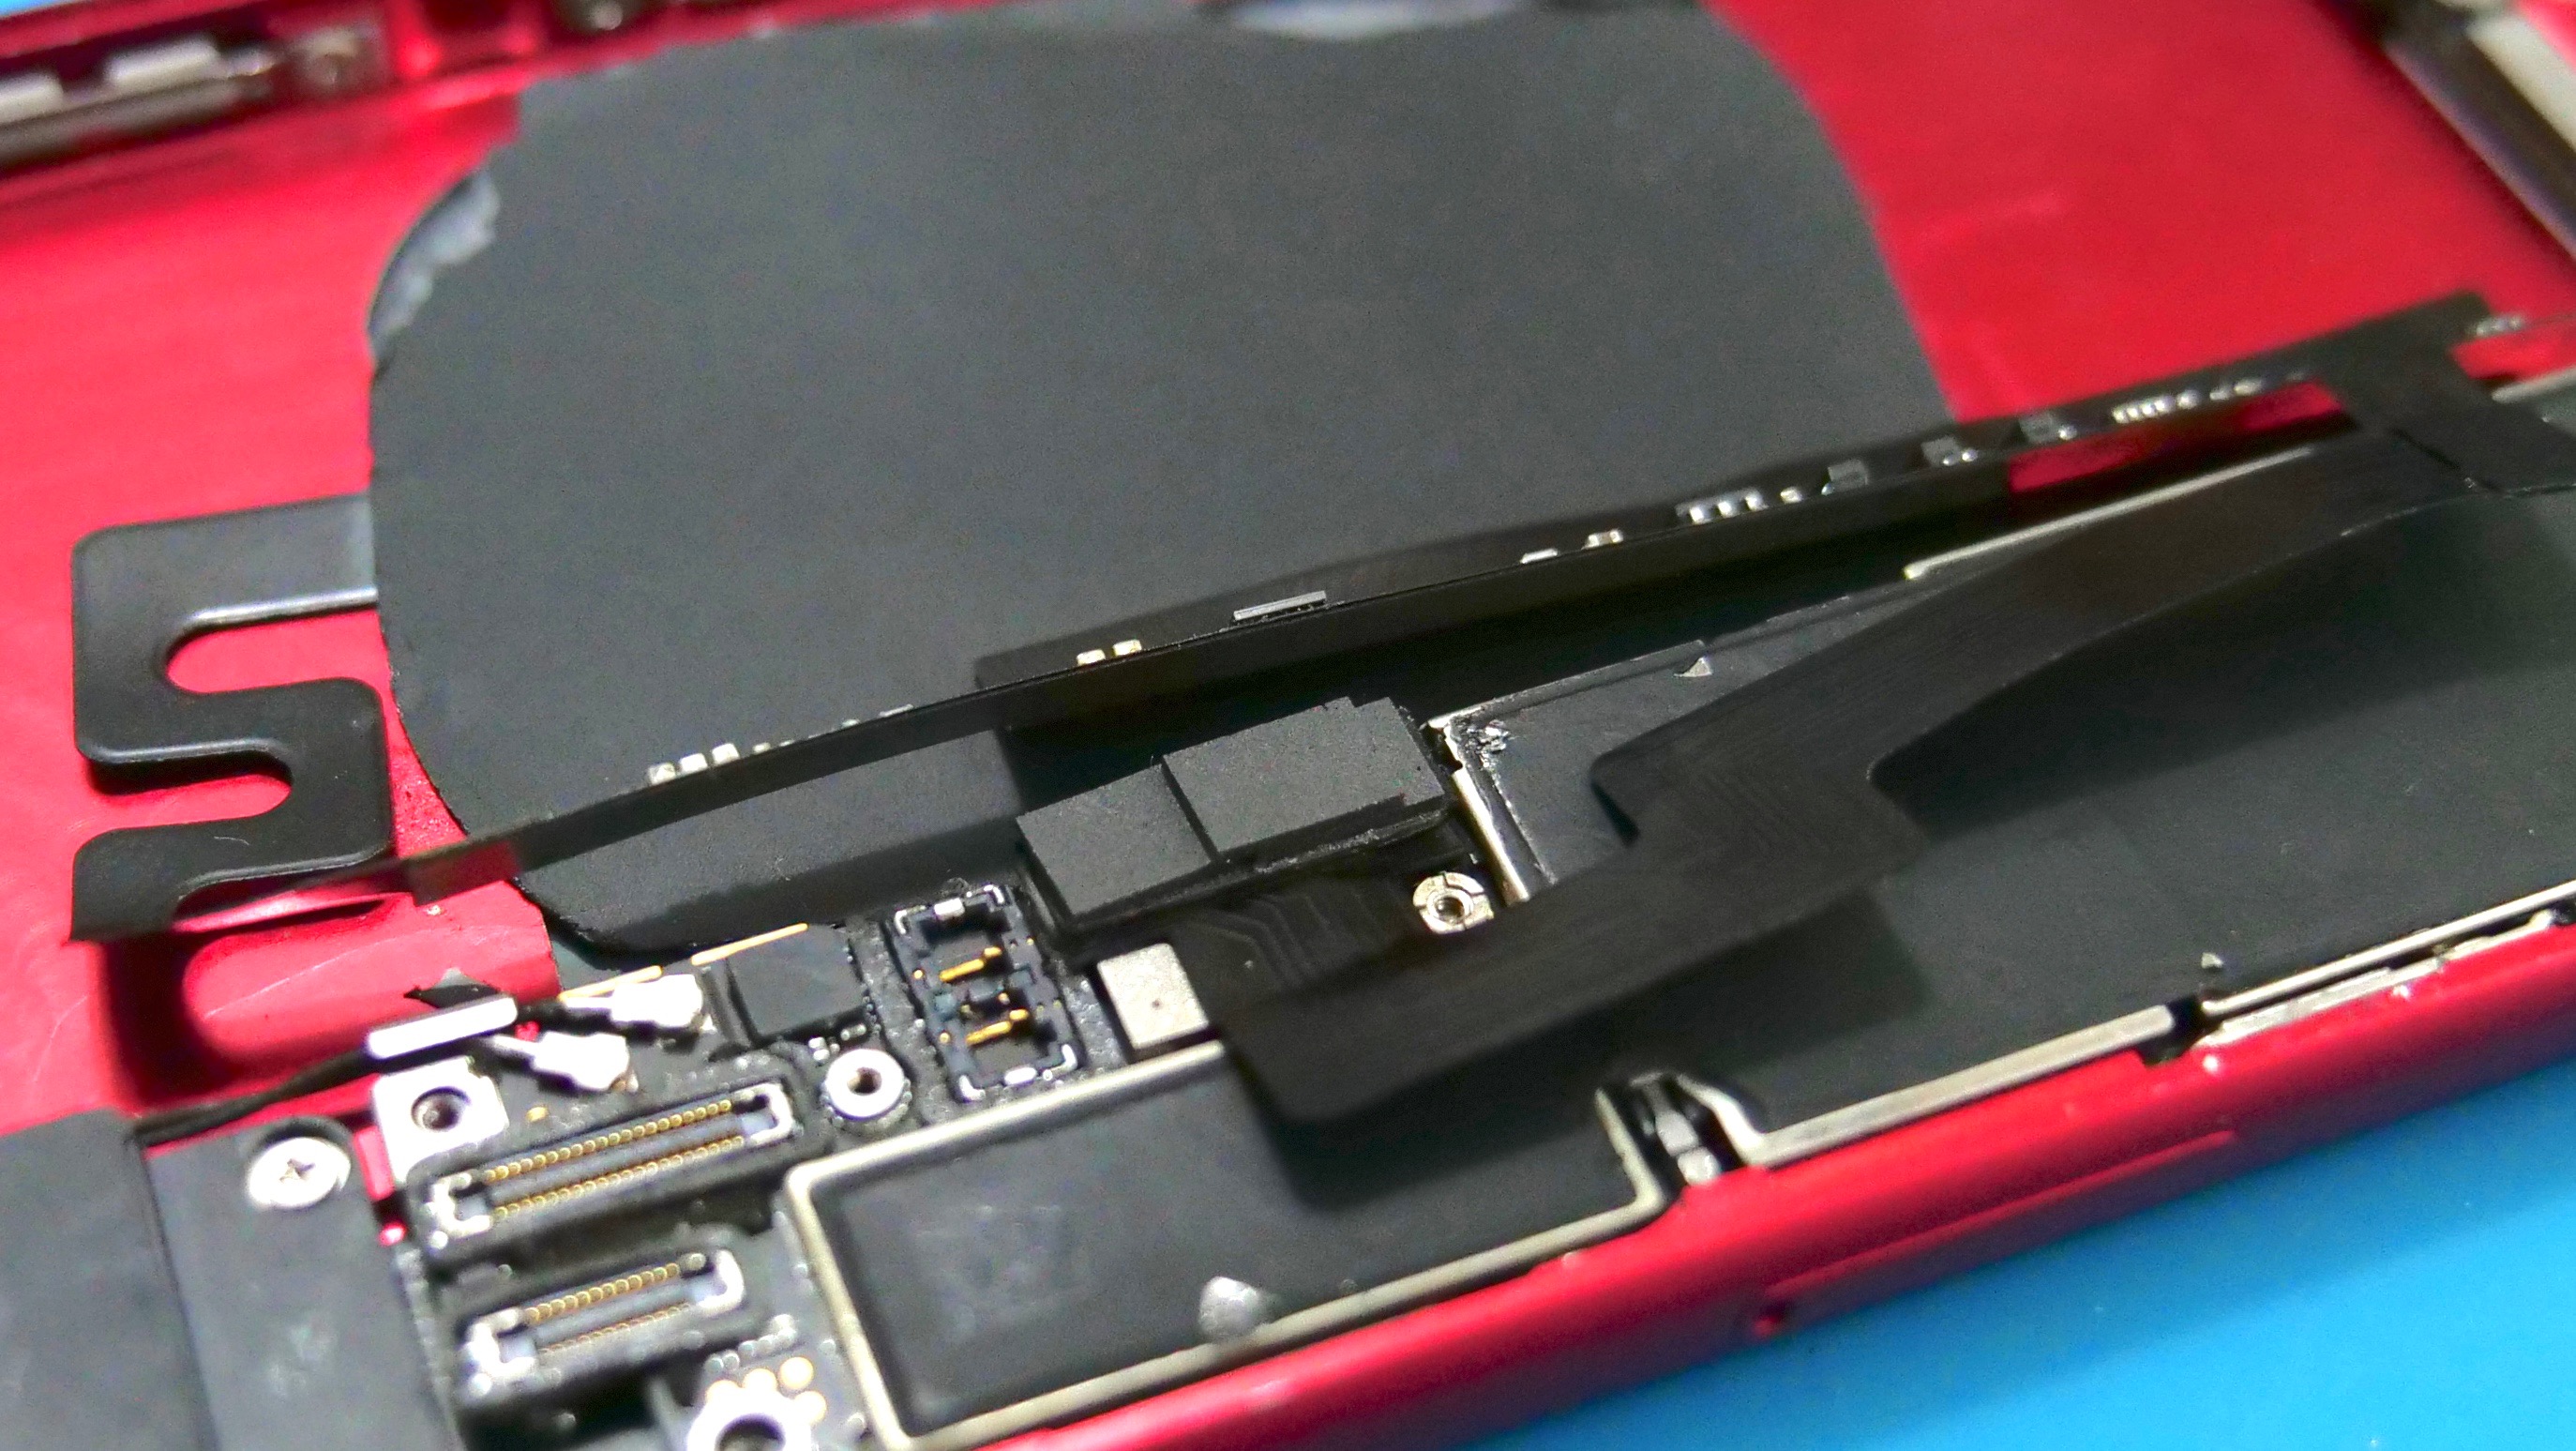
This is how to place thee three pieces of foam on the bottom flex connector
Troubleshooting
- 1. If the phone is working correctly except for wireless charging, start by pressing your finger on the top of the connector bracket while the phone is on the wireless charger. Sometimes this is enough to seat the connector properly.
- If pressing on it with your finger works, but when you remove your finger it stops charging, try adding another piece of foam.
- If pressing on it with your finger does not work, disassemble the connector, and inspect the wireless charging PCB cable for damage. If it is damaged, you can replace it with the spare cable provided with a soldering iron.
How to get help
You can email support@strangeparts.com with questions, and I’ll try and answer as I’m able. However, please be aware I’m super busy making new videos, so the time I can spend doing support is limited.